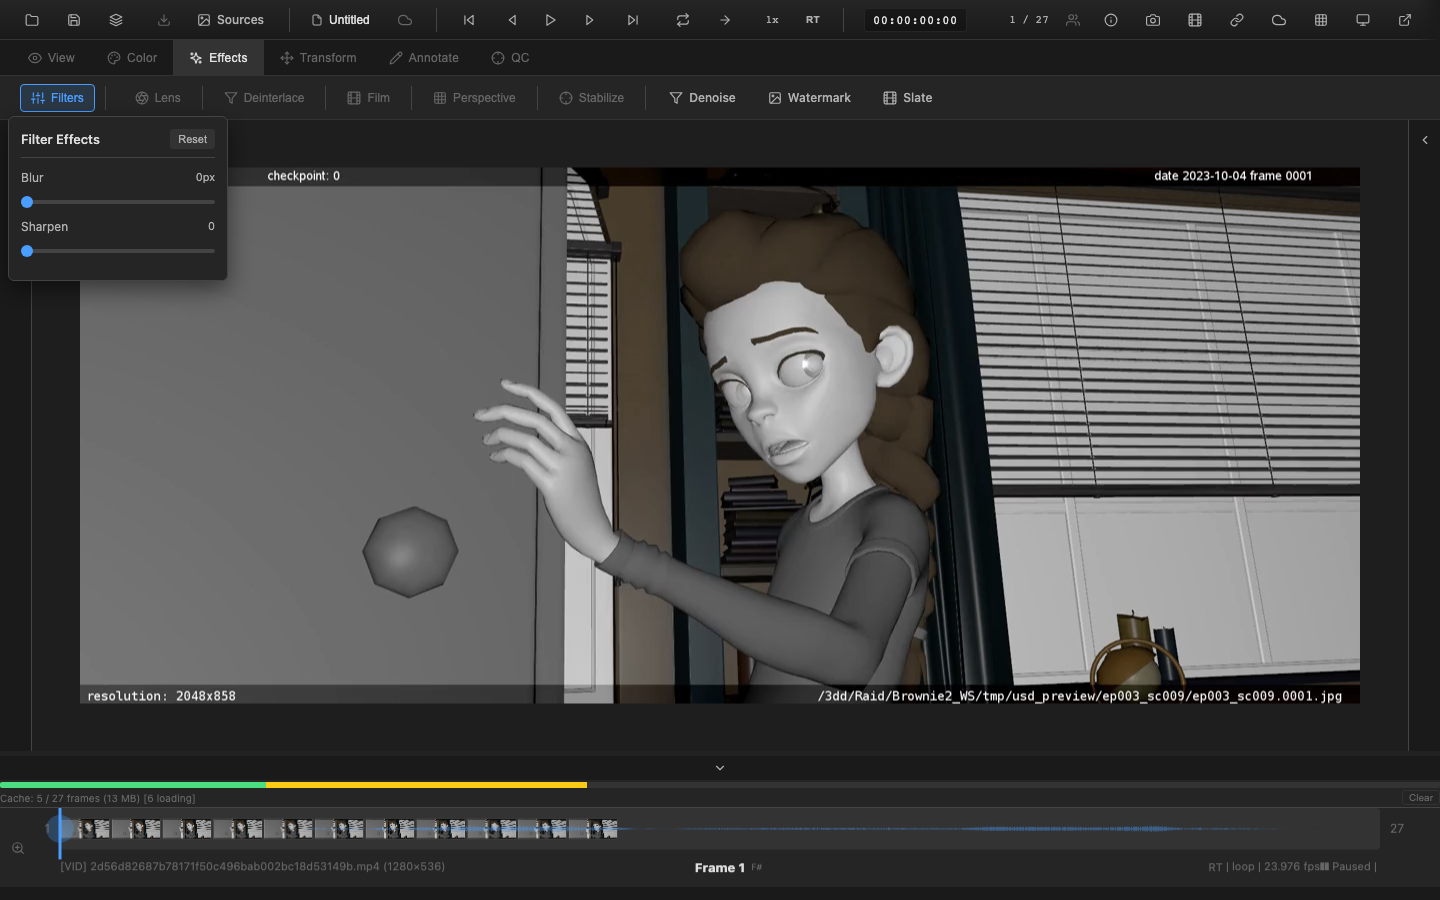
Filters and Effects
OpenRV Web includes a set of image processing filters that operate in real time on the GPU. Filters are applied per-frame as part of the rendering pipeline and do not modify the source media. All filter settings are non-destructive and can be adjusted, reset, or saved as part of the session state.
Noise Reduction
The noise reduction filter suppresses high-frequency noise while preserving edge detail. This is useful when reviewing:
- Renders with Monte Carlo noise (ray-traced imagery at low sample counts)
- Camera footage shot at high ISO settings
- Compressed video with mosquito noise or blocking artifacts
Controls
- Strength: Controls the amount of noise reduction applied. Higher values produce a smoother image but may soften fine detail. Range: 0.0 (off) to 1.0 (maximum).
- Spatial radius: The pixel neighborhood size used for noise estimation. Larger radii smooth larger noise patterns but increase GPU cost.
Noise reduction operates in linear light space and is applied after color corrections in the pipeline.
Sharpen
The sharpen filter enhances edge contrast to restore apparent sharpness, compensating for display softness, scaling artifacts, or intentional diffusion in the source.
Controls
- Amount: The intensity of the sharpening effect. Range: 0.0 (off) to 2.0 (strong). Values above 1.0 produce visible halos around high-contrast edges and are typically used only for diagnostic evaluation.
- Radius: The pixel radius for the unsharp mask kernel. Smaller radii sharpen fine detail; larger radii enhance medium-frequency edges.
The sharpen filter is implemented as an unsharp mask (USM) operation. Excessive sharpening amplifies noise, so applying sharpen after noise reduction is recommended when both are needed.
Sampling Note (single-pass renderer)
Sharpen's 4-tap Laplacian kernel samples the input texture (the linearized source pixels), not a post-color-pipeline buffer. The center sample and its four neighbours all come from the same texture, so the Laplacian remains self-consistent. Sampling neighbouring post-color pixels in a single fragment shader is not possible without a second render pass and an additional FBO; the single-pass GLSL renderer avoids that cost on purpose. The practical consequence is that sharpen operates on the input encoding rather than on display-referred values -- acceptable for an edge enhancer because local high-frequency detail dominates the effect. HDR users grading aggressively may notice a small expected difference between the GPU path (input-referred sample) and the CPU fallback path (which samples the post-color buffer it writes back to). For a true post-pipeline sample, use the WebGPU multi-pass spatialEffectsPost stage.
Deinterlace
The deinterlace filter converts interlaced video content (alternating fields per frame) into progressive frames. This is relevant when reviewing:
- Legacy broadcast content captured at 50i or 60i
- Telecine transfers that retain interlacing artifacts
- Mixed-format timelines where interlaced and progressive sources are intercut
Modes
- Bob: Outputs each field as a separate frame, doubling the frame rate. Produces smooth motion but halves vertical resolution per output frame.
- Weave: Combines both fields into a single frame. Produces full resolution but shows combing artifacts on moving objects.
- Blend: Averages adjacent fields to reduce combing while maintaining frame rate. A compromise between bob and weave.
Film Emulation
Film emulation filters simulate the look of specific photochemical film stocks by applying characteristic response curves, grain, and color shifts. These filters are useful for:
- Previewing a film-look grade before committing to LUT creation
- Client presentations where a specific aesthetic is desired
- Evaluating how digital imagery translates to a film-like appearance
Available Emulations
OpenRV Web ships with several built-in film emulation presets that model the response curves of popular negative and print stocks. Each preset applies:
- Characteristic curve: The S-shaped response curve that maps scene exposure to film density, including shoulder rolloff (highlight compression) and toe shape (shadow behavior)
- Color cross-talk: The inter-channel coupling that gives each stock its distinctive color rendering
- Grain simulation: Luminance-dependent film grain overlay with per-frame animation at configurable intensity
Built-in Film Stocks
OpenRV Web ships with emulations of six classic film stocks: Kodak Portra 400, Kodak Ektar 100, Fuji Pro 400H, Fuji Velvia 50, Kodak Tri-X 400, and Ilford HP5+. Each models the characteristic response curve, color cross-talk, and grain structure of the original stock.
Film emulation presets are loaded from the same system used for LUT management. Custom emulations can be created by providing a 3D LUT file that encodes the desired look.
Motion Stabilization
The motion stabilization filter reduces frame-to-frame jitter in handheld or poorly stabilized footage. This is a preview-quality 2D stabilization intended for review purposes, not a replacement for dedicated tracking and stabilization software. The algorithm uses block-matching to estimate inter-frame motion vectors, then applies exponential moving average (EMA) smoothing to derive a stable reference trajectory. Border cropping fills in the edges exposed by the stabilization transform.
Controls
- Enabled: Toggle stabilization on or off.
- Smoothing Strength: Controls the amount of temporal smoothing applied to the estimated camera path. Higher values produce smoother results but may lag behind intentional camera moves. Range: 0–100.
- Crop Amount: Controls how many pixels of the frame edge are cropped to hide the stabilization offset. Higher values eliminate black borders but reduce the visible image area. Range: 0–64.
Note: The underlying effect adapter also supports automatic inter-frame motion estimation (
stabilizationAutoMotion) and manual shift offsets (stabilizationDx,stabilizationDy), but these parameters are API-only and are not exposed in the stabilization panel.
Auto-Exposure
The auto-exposure system automatically adjusts exposure based on scene luminance analysis. It uses the Reinhard scene key estimation formula with EMA (exponential moving average) temporal smoothing for flicker-free results during video playback.
Controls
- Enabled: Toggle auto-exposure on or off.
- Target Key: The target mid-gray luminance (default 0.18, photographic mid-gray). Higher values produce a brighter result.
- Adaptation Speed: How quickly the exposure adapts to scene changes. Lower values produce smoother transitions between bright and dark scenes.
- Min/Max Exposure: Clamp the auto-exposure range to prevent extreme adjustments.
Auto-exposure does not overwrite the manual exposure slider. The final exposure is the sum of auto-exposure and manual exposure, so artists can use the manual slider as an exposure compensation offset.
Effect Registry
All filters are managed through a centralized effect registry that handles:
- Discovery: Available filters are listed in the Filters panel, grouped by category
- Ordering: Filters are applied in a fixed order within the rendering pipeline (noise reduction, then sharpen, then other effects). This ordering ensures predictable results regardless of the order in which filters were enabled.
- Persistence: Filter settings are included in the session state and are saved/restored with
.orvprojectfiles and snapshots - Reset: Each filter can be reset to its default values independently, or all filters can be reset at once from the Filters panel
The Filters panel is accessible from the context toolbar. Each filter has an enable/disable toggle and a disclosure triangle to expand its controls.
Related Pages
- Rendering Pipeline -- Pipeline stage ordering for filters
- Transforms -- Spatial transforms (rotation, crop, lens distortion)
- Session Management -- Filter settings in session persistence
- Color Controls -- Primary color correction applied before filters
- Waveform -- verify filter impact on signal levels