Quick Start Guide
Try it right now
Open lifeart.github.io/openrv-web and drag any image, EXR, DPX, or video file onto the window. That's it -- you are reviewing. No account, no install, no upload. Your files stay on your machine.
This guide walks through loading media, navigating the viewer, adjusting color, and comparing two sources. Within five minutes, the essential controls will feel familiar.
Loading Media
OpenRV Web accepts media through three methods.
Drag and Drop
Drag any image or video file from the desktop file manager onto the viewer area. A semi-transparent overlay with "Drop files here" confirms the drop zone is active. Release the mouse button to load the file.
To load an image sequence, select multiple numbered image files (e.g., frame_001.png through frame_100.png) and drop them together. OpenRV Web automatically detects the numbering pattern and treats them as a playable sequence.
File Picker
Click the Open button (folder icon) in the header bar to open the file picker. Select one or more files. Supported formats include:
- Images: PNG, JPEG, WebP, GIF, BMP, AVIF, HEIC, EXR, DPX, Cineon, Radiance HDR, Float TIFF, JPEG XL, JPEG 2000, JPEG/HEIC/AVIF Gainmap HDR
- Video: MP4, MOV, MKV, WebM, OGG, AVI, MXF
- Sessions:
.rv,.gto(OpenRV session files),.orvproject(OpenRV Web projects)
RV Session Files
Load an OpenRV .rv or .gto session file directly. OpenRV Web parses the session graph and restores playback ranges, channel selection, and paint annotations from the original session.
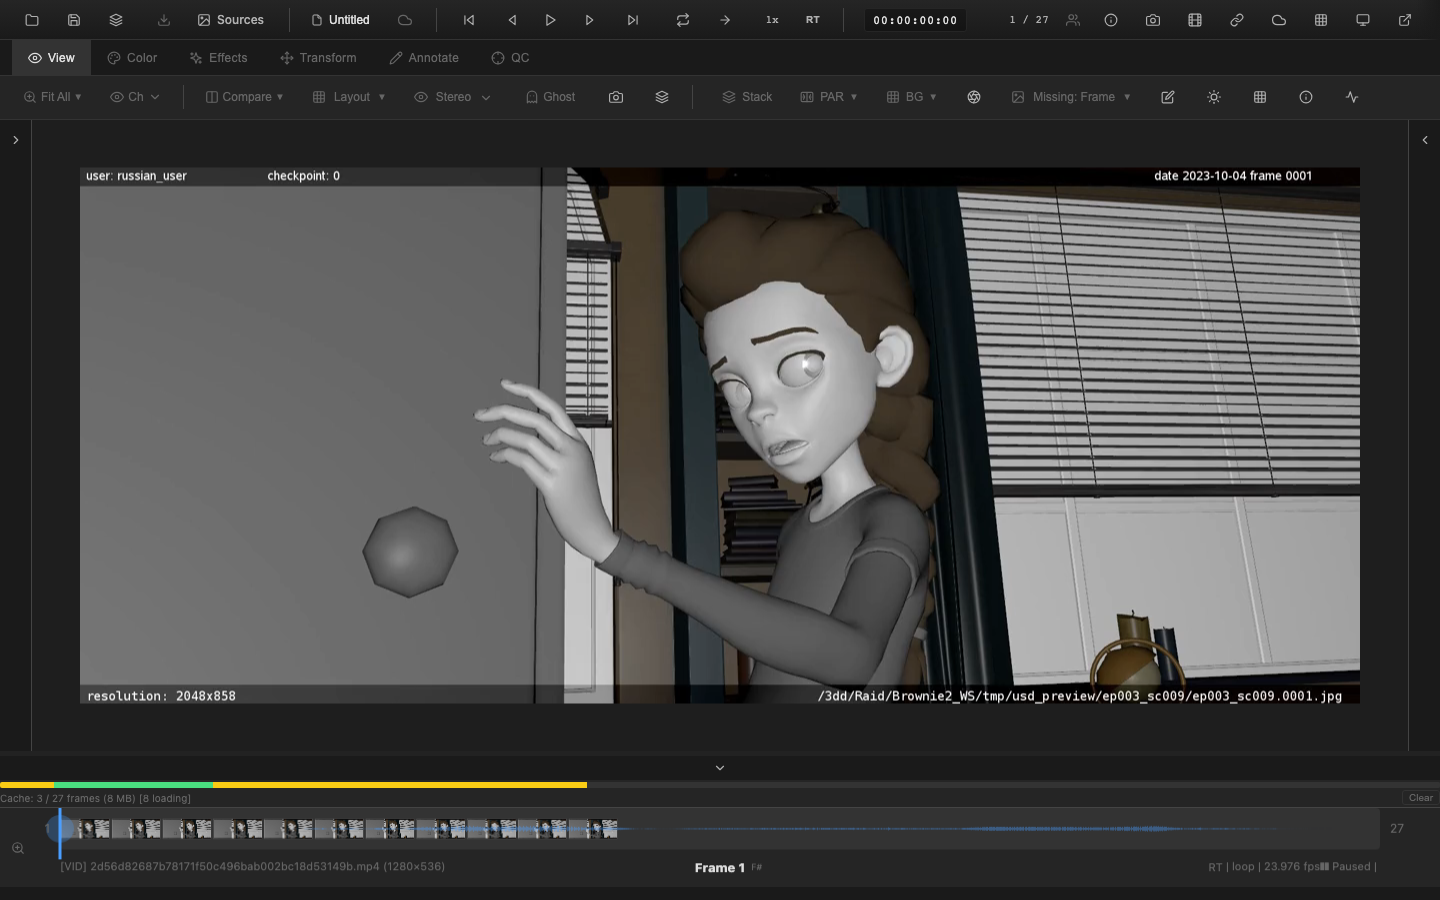
Basic Playback Controls
Once media is loaded, the timeline appears at the bottom and playback controls become active.
Play and Pause
Press Space to toggle between play and pause. The play button in the header bar also toggles playback.
Frame Stepping
Press Right Arrow to advance one frame forward. Press Left Arrow to step one frame backward. These controls work while paused for precise frame inspection.
Jump to Start or End
Press Home to jump to the first frame (or the in point, if set). Press End to jump to the last frame (or the out point).
Timeline Scrubbing
Click anywhere on the timeline to jump to that frame. Click and drag to scrub through frames continuously. The timeline displays thumbnails of the media for visual reference.
Playback Speed
Press L to increase playback speed through presets: 1x, 2x, 4x, 8x. Press J to decrease speed: 1x, 0.5x, 0.25x, 0.1x. Press K to pause. The speed button in the header bar displays the current speed and highlights when the speed differs from 1x.
Loop Modes
Press Ctrl+L (or via the loop button) to cycle through loop modes:
- Loop -- play continuously, wrapping from end to start
- Ping-pong -- play forward, then reverse at boundaries
- Once -- play through once and stop
Navigating the Viewer
Pan
Click and drag on the image to pan when zoomed in, or when the pan tool (V) is selected.
Zoom
Scroll the mouse wheel to zoom in or out. The zoom centers on the cursor position. Use pinch gestures on trackpads or touch screens.
Keyboard zoom controls:
| Key | Action |
|---|---|
F | Fit image to window |
= | Zoom in |
- | Zoom out |
0 | Zoom to 50% |
The zoom dropdown in the View tab toolbar provides preset levels: Fit, 25%, 50%, 100%, 200%, 400%.
Rotate and Flip
Press Shift+R to rotate the image 90 degrees counter-clockwise. Press Alt+R to rotate clockwise. Press Alt+H to flip horizontally and Shift+V to flip vertically.
Quick Color Adjustment
Switch to the Color tab by pressing 2, or press C to open the color controls panel.
Exposure
Drag the Exposure slider to brighten or darken the image. The range is -5 to +5 stops, measured in photographic stops for intuitive adjustment.
Contrast and Saturation
Adjust Contrast to increase or decrease tonal separation. Adjust Saturation to boost or reduce color intensity.
Temperature and Tint
Shift color Temperature toward warm (yellow) or cool (blue). Adjust Tint to correct green-magenta shifts.
Reset
Click the reset button or reset each slider individually to return all color controls to their defaults.
All color adjustments are non-destructive and applied in real time via the GPU fragment shader pipeline.
Comparing Two Sources
OpenRV Web supports loading two sources (A and B) for side-by-side comparison.
Loading a Second Source
After loading the first file, load a second file. The second file automatically assigns as source B. The A/B buttons in the Compare dropdown (View tab) become active.
Toggling A/B
Press the backtick key (`) to toggle between source A and source B. An A/B badge in the viewer corner indicates the current source.
Wipe Comparison
Press Shift+W to enable wipe mode. A vertical line appears on the viewer. Drag it left or right to reveal the original image on one side and the graded version on the other. Press Shift+W again to cycle to vertical wipe, then back to off.
Split Screen
Press Shift+Alt+S to enable split screen mode. Sources A and B appear side by side with a draggable divider. Labels identify each side. Press Shift+Alt+S again to cycle through horizontal split, vertical split, and off.
Difference Matte
Press Shift+D to display a pixel-by-pixel difference between sources A and B. Identical pixels appear black; differing pixels appear as bright values. Adjust the gain slider (1x to 10x) in the Compare dropdown to amplify subtle differences. Enable heatmap mode for color-coded visualization.
Keyboard Shortcut Reference
The most frequently used shortcuts at a glance:
| Key | Action |
|---|---|
Space | Play / Pause |
Left / Right | Step frame backward / forward |
Home / End | Jump to start / end |
F | Fit to window |
1 -- 5 | Switch tabs (View, Color, Effects, Transform, Annotate) |
C | Toggle color panel |
` | Toggle A/B source |
Shift+W | Cycle wipe mode |
Shift+I | Toggle pixel probe |
Ctrl+S | Export current frame |
Ctrl+Z / Ctrl+Y | Undo / Redo |
For the complete shortcut list, see the Keyboard Shortcuts Reference.
Next Steps
- UI Overview -- learn the layout and tab system
- Timeline Controls -- master the timeline
- Keyboard Shortcuts Reference -- complete shortcut table
Related Pages
- Installation -- set up OpenRV Web
- UI Overview -- understand the interface layout
- Timeline Controls -- detailed timeline guide